Accessing the app
Log into your PEX account to finalize the set up.Log in to http://dashboard.pexcard.com/
Navigate to Apps > Available
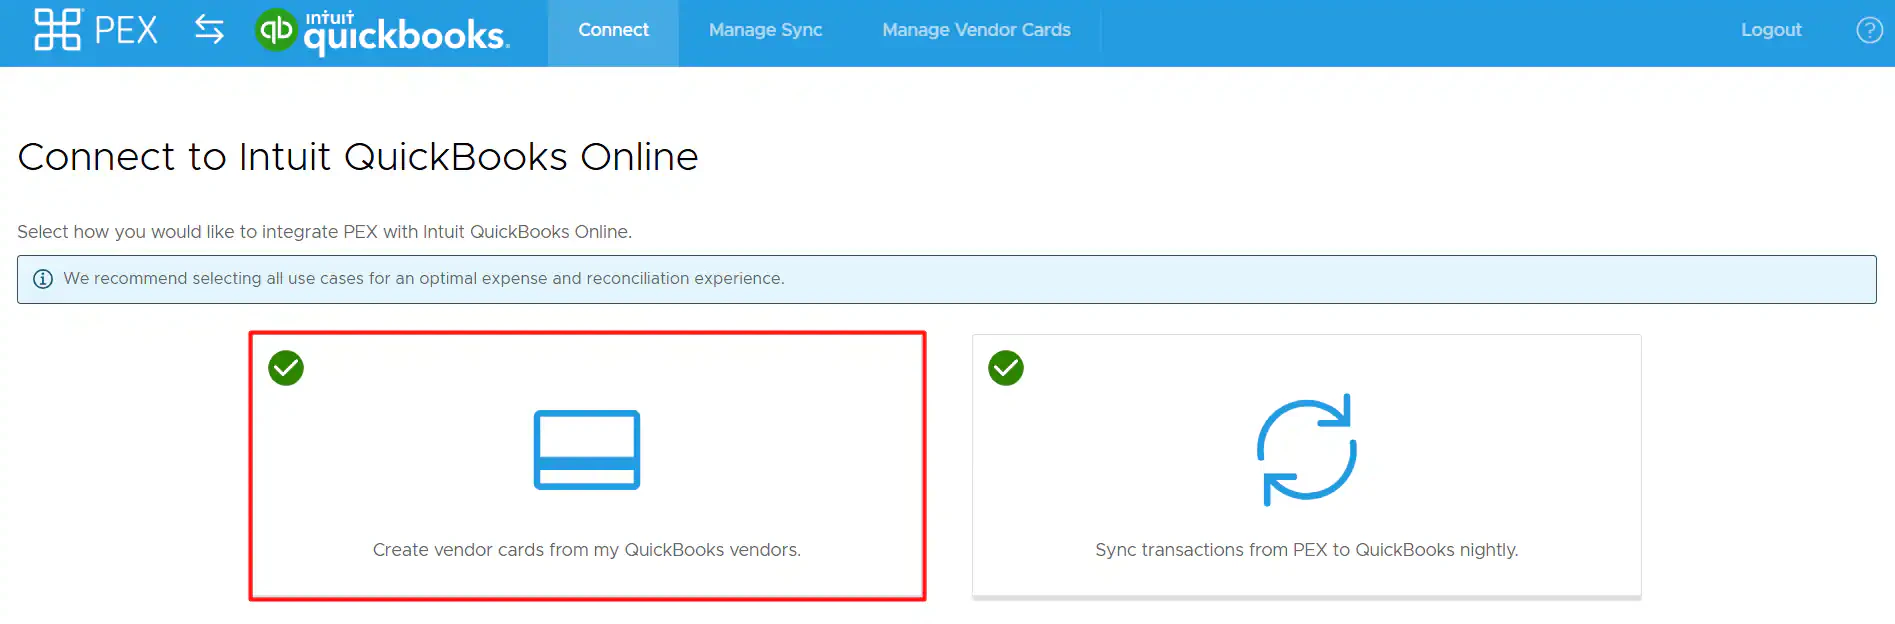
Select your use case(s)
There are currently two options for how you can connect PEX with QuickBooks Online. We recommend as many as possible to make your reconciliation experience seamless.- Create vendor cards from my QuickBooks vendors.
- Sync transactions from PEX to QuickBooks nightly.

Select vendors to auto-create vendor cards for

A to Z, Z to A, and Total Spend are the Your QuickBooks vendors list sorting options. You can also filter Your QuickBooks vendors by expense category.
Select the vendors you want vendor cards for: click a name in Your QuickBooks vendors. Hold Cmd + click (Mac) or Ctrl/Shift + click (Windows) to select multiple. To select every vendor, click Select All.
Note:You can select up to 25 vendors at a time.
If you do not see a vendor, search for any vendor in QuickBooks Online using the Your QuickBooks vendors search bar.
If a vendor is missing from the list, add them in QuickBooks Online first. See Add a vendor in QuickBooks Online. After you add them, the name is searchable in PEX.
To remove a vendor from Selected vendors, click the name, then the left-arrow button. The vendor returns to Your QuickBooks vendors.
To clear Selected vendors, click Reset all.
Note:The system creates vendor cards only for vendors in Selected vendors.
Add card details

You might have 2 options:
- Set an auto card funding limit drawn from your PEX Business Balance.
- Turn off auto funding and add initial funding for that vendor card (PEX Prepaid only).
Note:If transaction sync with QuickBooks is already set to book purchases to a single vendor, you will see the Automatically map expenses from vendor cards to vendors in QuickBooks toggle.

By default, it is on. If you leave it on, then:
- The system will book PEX purchases against the corresponding vendors on your created vendor cards.
- If your purchases do not have corresponding vendors, then the system will book PEX purchases against a single vendor.
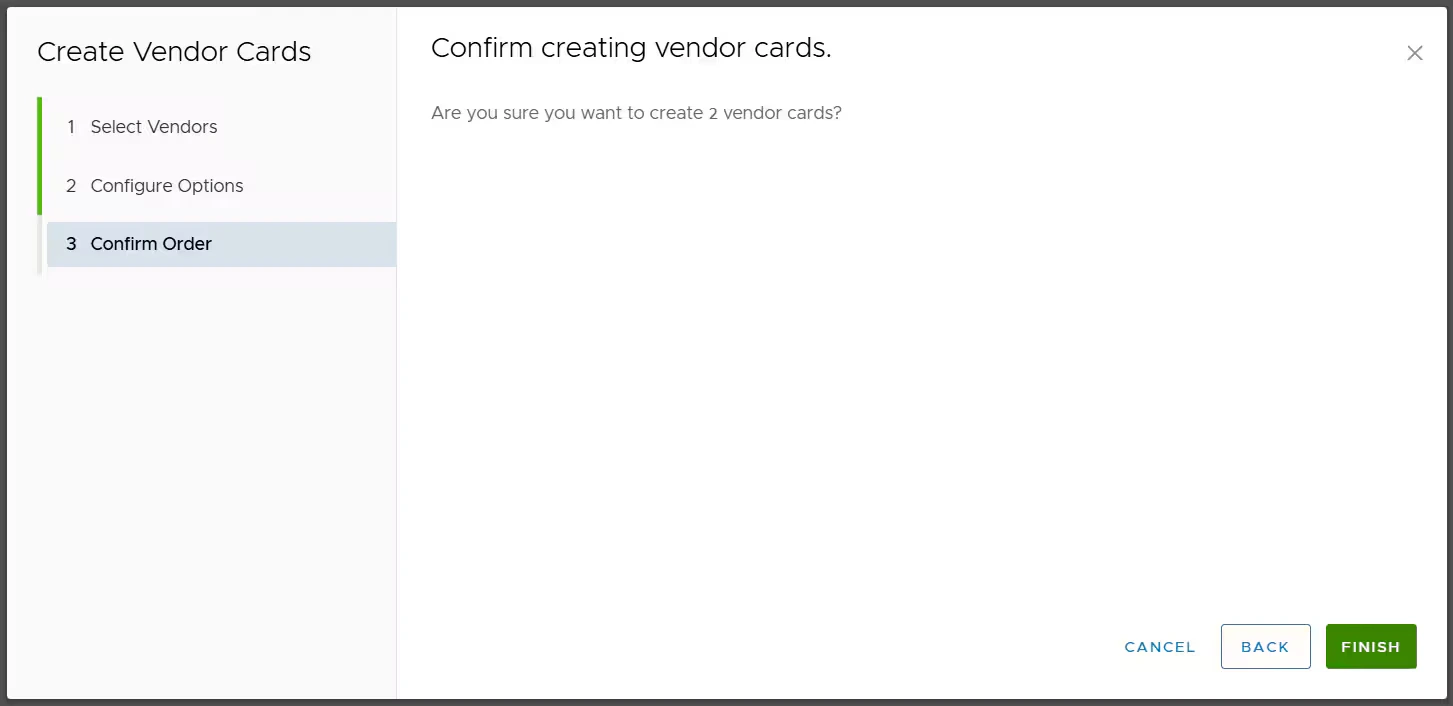
Confirm order
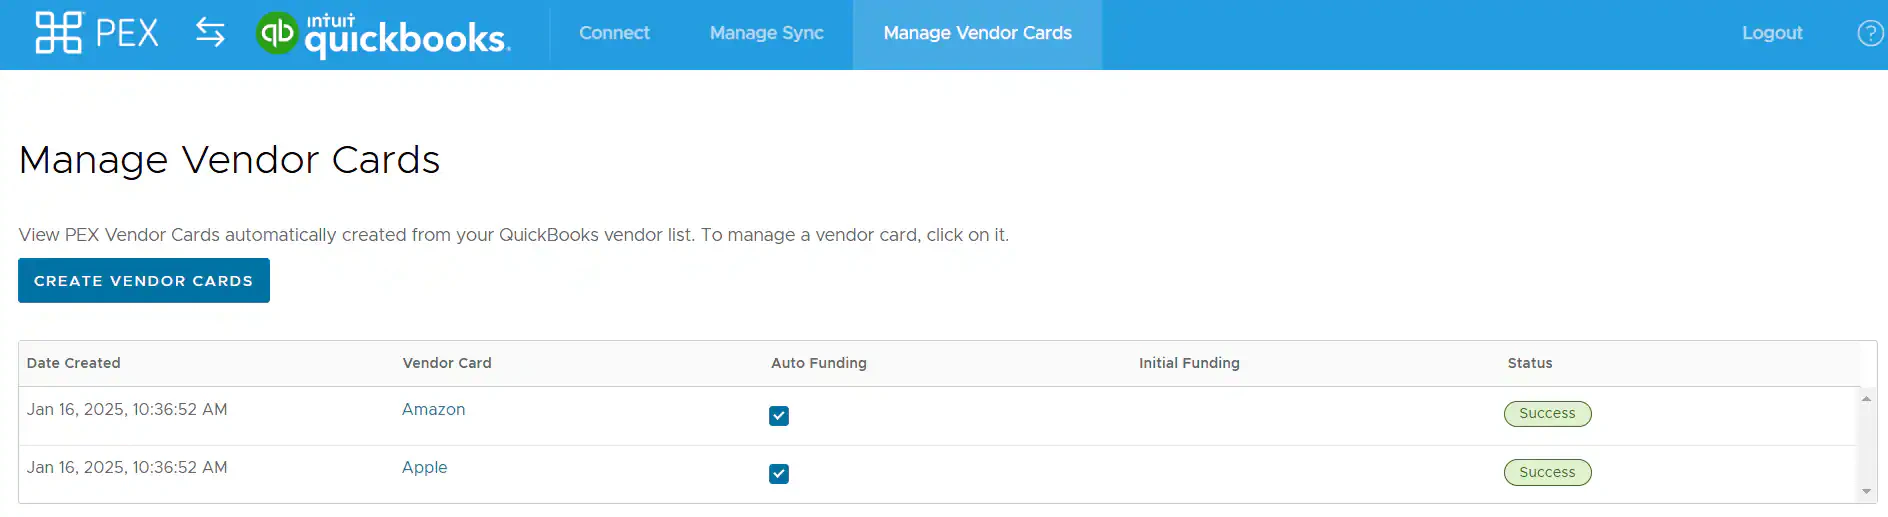
Managing vendor cards
More detail:
For connector questions, email appsupport+quickbooksonline@pexcard.com.