How to Install PEX Batch Funding
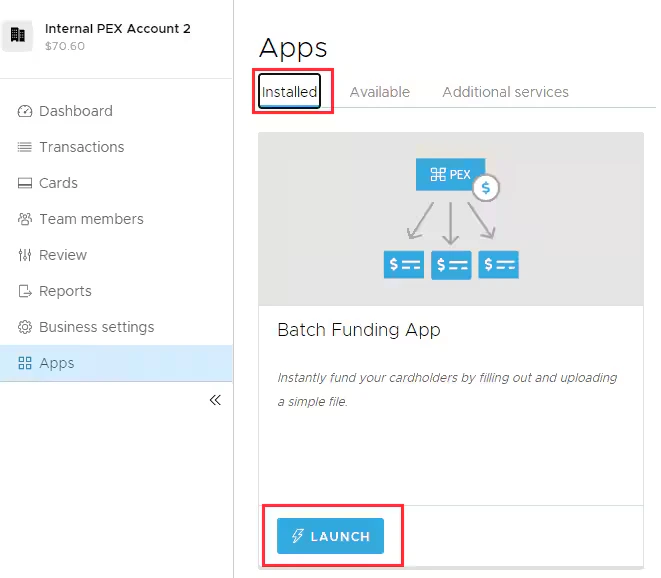
Log in to your PEX account dashboard.pexcard.com and navigate to ‘Apps’ section on the left-hand side menu.
Click ‘Install’ to install the app on your PEX account. The Connector is web-based, so you do not need to download anything.
Note:To install the app, you need to enable the following permission: Edit business settings & apps. You can enable it in My Profile -> Permissions.
Summary Section
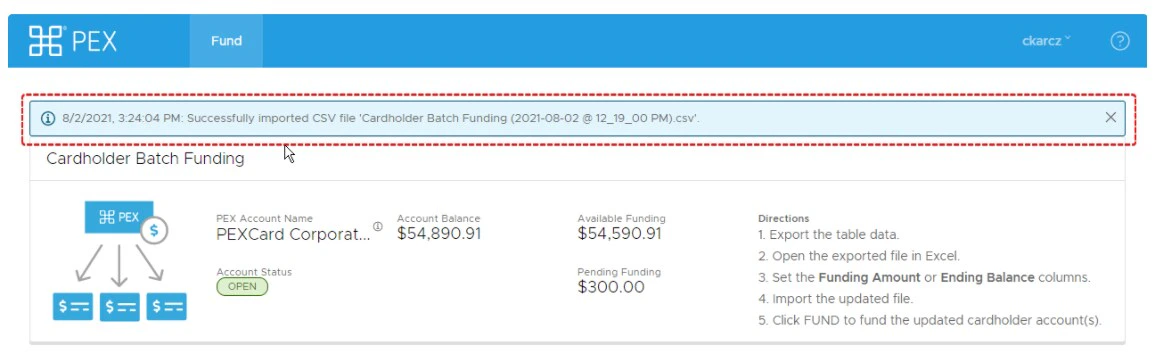
The summary displays the following information:- PEX Account Name: the ‘business name’. A hover over the info icon displays the full un-trimmed name and also account id (useful for support).
- Account Status: the current business account status.
- Account Balance: the current business account balance.
- Pending Funding: the sum of all pending funding amounts of cardholders.
- Available Funding: the current amount available to use for funding cardholders. This is the ‘Account Balance’ minus the sum of all ‘Pending Funding’.
How to Batch Fund Cards
There are two ways to batch fund cards:- Filling out Cardholders table
- Filling out a csv file
Filling out Cardholders table
- Populate the ‘Funding Amount’ column with the amount you want to fund the card with for each cardholder. The ‘Ending Balance’ column amount will automatically adjust and show you the value. This will be the amount of the card after it gets funded with the amount you enter in the ‘Funding Amount’ column.
- Optionally you can populate the ‘Ending Balance’ column. This entered amount will be the balance of the card i.e. card will be funded by the difference of card available balance and the ending balance amount entered by you. The ‘Funding Amount’ column amount will automatically adjust and show you the value.
- You can defund a card if you input a negative value in the ‘Funding Amount’ column. Though, the ‘Ending Balance’ column value cannot be negative.
- Optionally you can populate the ‘Ending Balance’ column. This entered amount will be the balance of the card i.e. card will be funded by the difference of card available balance and the ending balance amount entered by you. The ‘Funding Amount’ column amount will automatically adjust and show you the value.
- Click on the ‘Fund’ button, and then ‘Fund Pending’.
- Refresh the Cardholders list by clicking ‘Refresh’.
- Sort any table column values in ascending/descending order.
- Filter any column by the item you need.
- Display all or specific columns by clicking ‘Manage Columns’ -> checking the ones you need.
Filling out a csv file
Click on Export and Export all.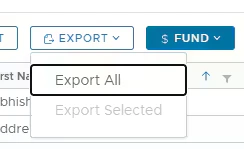
- Optionally, you can select few cards only and click on Export selected. This would include only selected cards in the CSV file as opposed to including all the cards from the business.
Populate the ‘Funding Amount’ column with the amount you want to fund the card with for each cardholder.
- Optionally you can populate the ‘Ending Balance’ column. This entered amount will be the balance of the card i.e. card will be funded by the difference of card available balance and the ending balance amount entered in CSV.
- If both Funding Amount and Ending Balance is populated, Funding Amount is used by the app.
- You can defund a card if you input a negative value in the ‘Funding Amount’ column. Though, the ‘Ending Balance’ column value cannot be negative.
Frequently Asked Questions
Can I defund cards using Batch Funding?
Can I defund cards using Batch Funding?
You can defund a card if you input a negative value in the ‘Funding Amount’ column. Please note, the ‘Ending Balance’ column value cannot be negative.
Which fields are required in the import file?
Which fields are required in the import file?
The download option prepopulates the CSV file. The minimum information needed is the Account ID and Ending Balance OR Funding Amount.