
Log in to http://dashboard.pexcard.com/
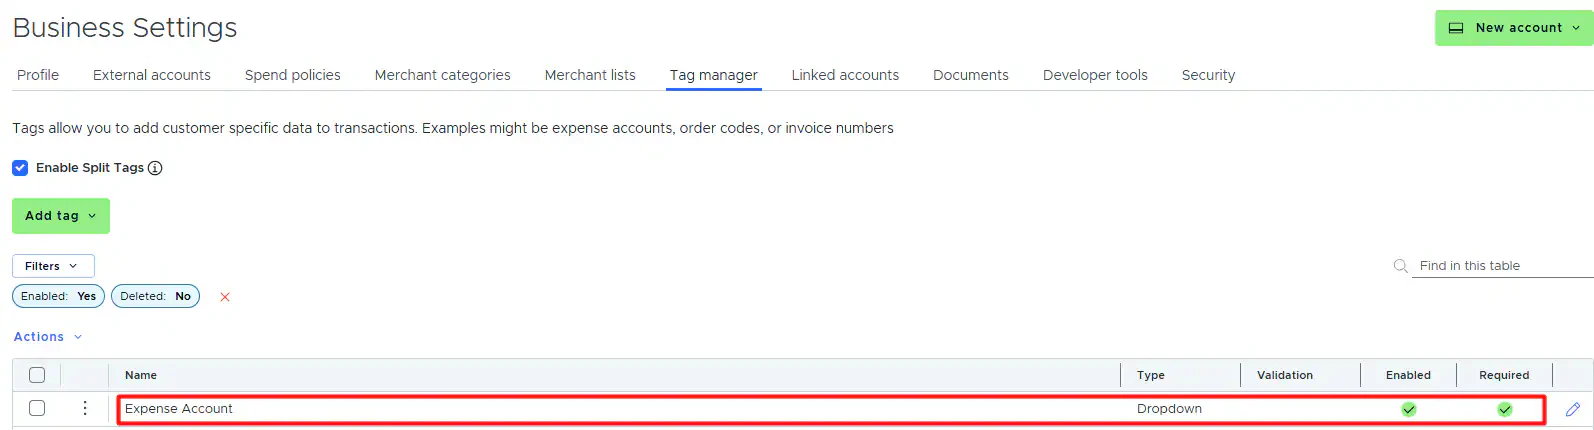
Choose whether or not this tag is required.
- If the “Required” checkbox is checked, cardholders must tag a transaction with it.
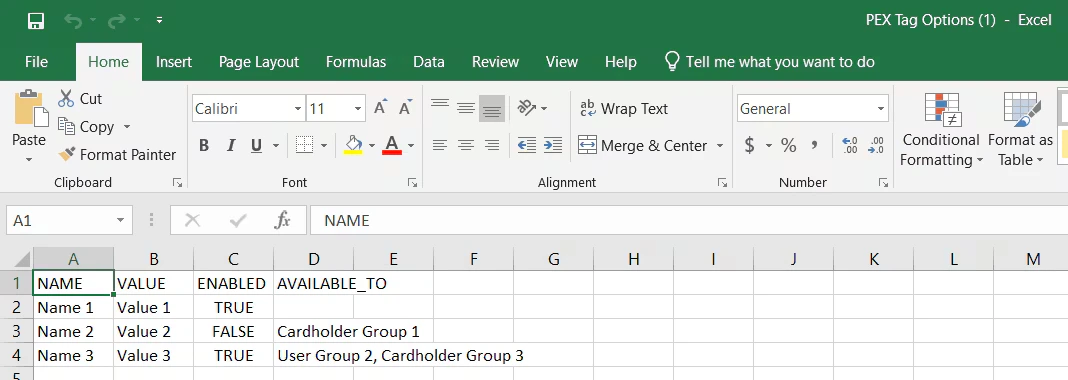
Copy the following information from the worksheet you exported from QuickBooks into the sample CSV file from PEX:
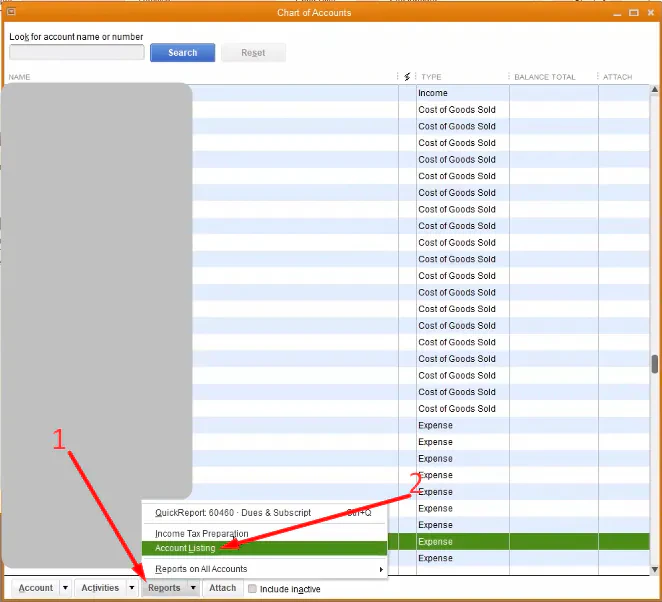
- NAME column: copy account names to this column. You can rename the accounts to display them as you want to your cardholders.
- Include only active accounts.
- We recommend including only the accounts that you and your cardholders will use when tagging purchases.
- VALUE column: copy account names from the Account column in QuickBooks to the VALUE column.
- The VALUE column must not include numbers unless they are part of the name; otherwise, transactions will fail to sync. For example, in QuickBooks, the Equipment account name is displayed as 201 · Equipment. You must exclude 201 · and enter only Equipment (see above).
- If the account is a child account, add the parent account name at the beginning, recursively. For example, if the Video account is a child of Technology, the VALUE should be Technology:Video (see above). Do not add spaces.
- For example, if the Hotel account is a child of Travel, which is a child of Expenses, the VALUE should be Expenses:Travel:Hotel. Do not add spaces.
- ENABLED column:
- Enter TRUE for accounts you want visible on transactions when you or your cardholders tag purchases.
- Enter FALSE for accounts you do not want visible when tagging purchases.
AVAILABLE_TOcolumn:- Leave a cell empty to make the account available to all cardholders, or add a relevant group name to limit visibility to cardholders in that group.
- Ensure the group name in the CSV file matches exactly the name in your PEX account. If it does not match exactly, the account will not be available to that group.
- Adding multiple groups is not supported at this time.

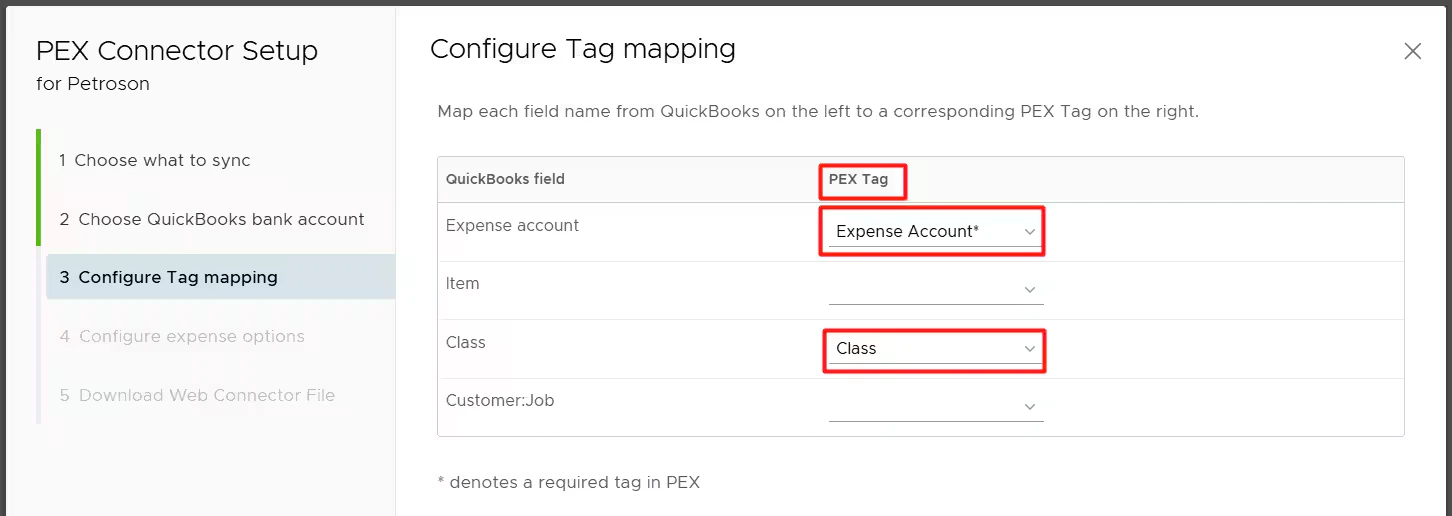
Create one tag for each QuickBooks Desktop field mapped to a PEX tag (such as Item, Class, Customer:Job) by repeating the steps above.
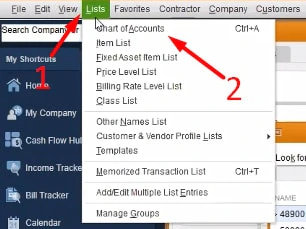
- To export an Items list: Lists > Item List > Excel > Create New Worksheet > Export.
- To export a Classes list: Lists > Class List > Excel > Create New Worksheet > Export.