Access app
To access the app:- Log in to http://dashboard.pexcard.com/
- Go to Apps → Available
- Locate PEX Exporter for ACST.
- Click More info, then Install, then Launch.
Note:To install the exporter, you need to enable the following permissions: Edit business settings & apps, Manage cardholder, View card transactions. You can enable them in My Profile -> Permissions.
Configure app
Once the app has launched, you will be directed to set up the app.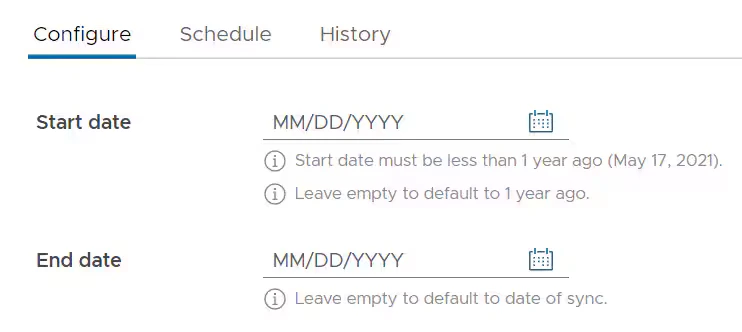

Select if you would like to Export All transactions or only Approved transactions from the dropdown.
Note:It’s recommend to select Approved transactions only.
Begin mapping PURCHASES for each of the fields. All required fields denoted with * will be enabled by default. The Target field maps to Realm. The Source options include Text, Tag, and Transaction. The Source value will change based on the Source option selected. All options included as a default can be updated based on your preferences.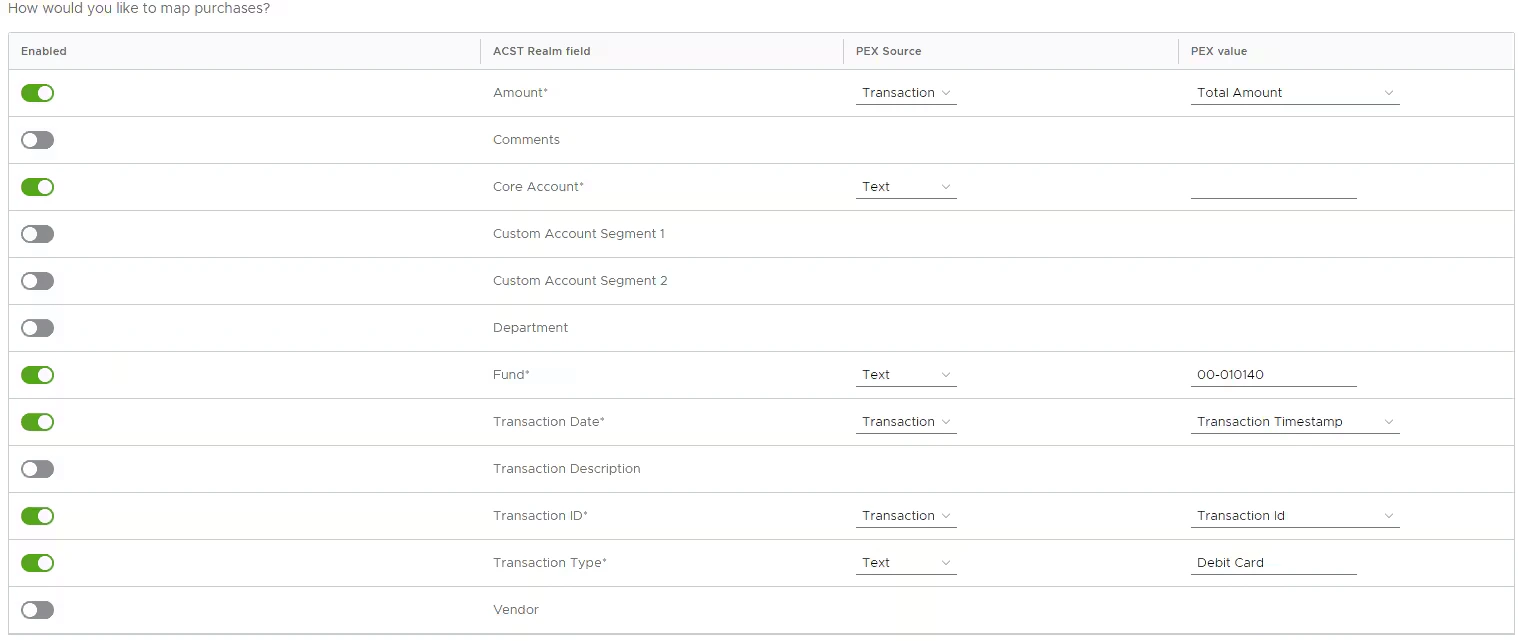
Note:Custom Account Segments are used as additional categories within Realm. Examples include 01 General Fund - 5000 Core Account Food - 01 Children’s Department. Additionally, Tags selected are based on your business’ active PEX tags. To manage tags, navigate to Business settings > Tag manager.
If you would like to map TRANSFERS, follow the step for each of the fields. All required fields denoted with * will be enabled by default. The Target field maps to Realm. The Source options include Text, Tag, and Transaction. The Source value will change based on the Source option selected. All options included as a default can be updated based on your preferences.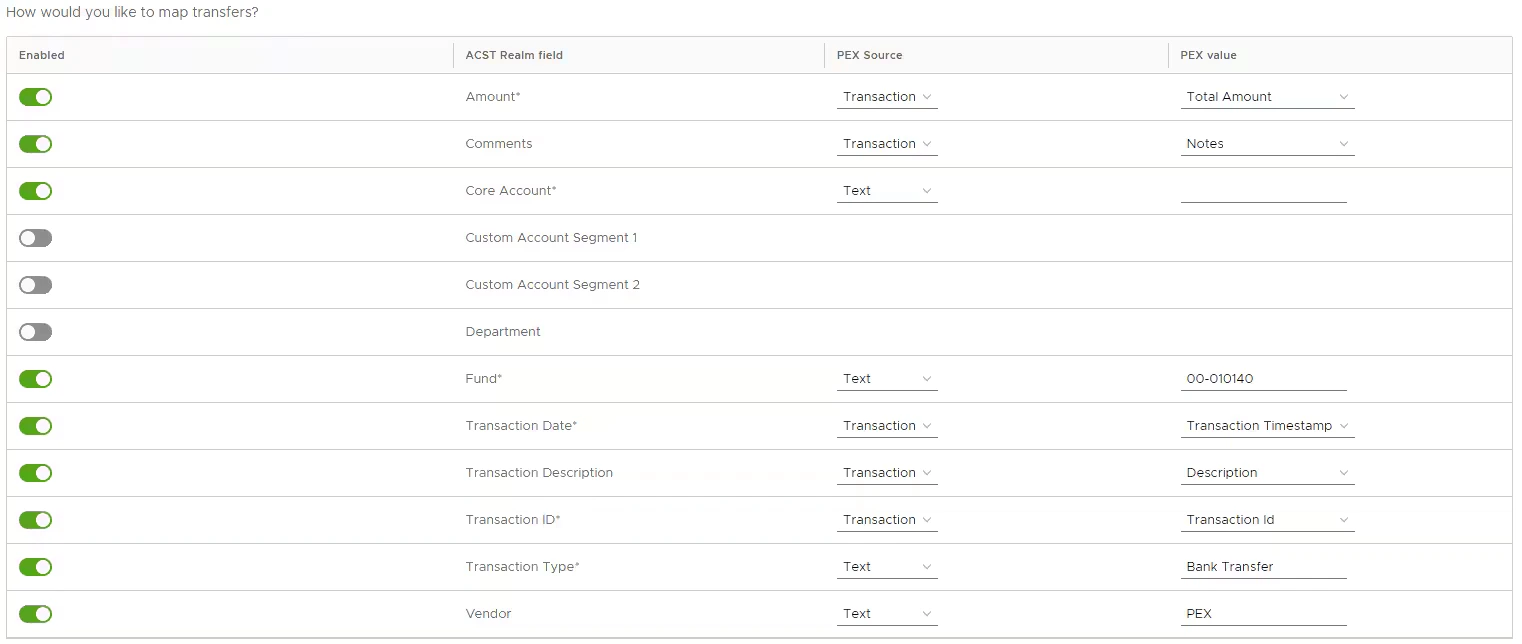
Note:Account No. is the bank account your business uses to fund transactions.
If you would like to map FEES, follow the step for each of the fields. All required fields denoted with * will be enabled by default. The Target field maps to Realm. The Source options include Text, Tag, and Transaction. The Source value will change based on the Source option selected. All options included as a default can be updated based on your preferences.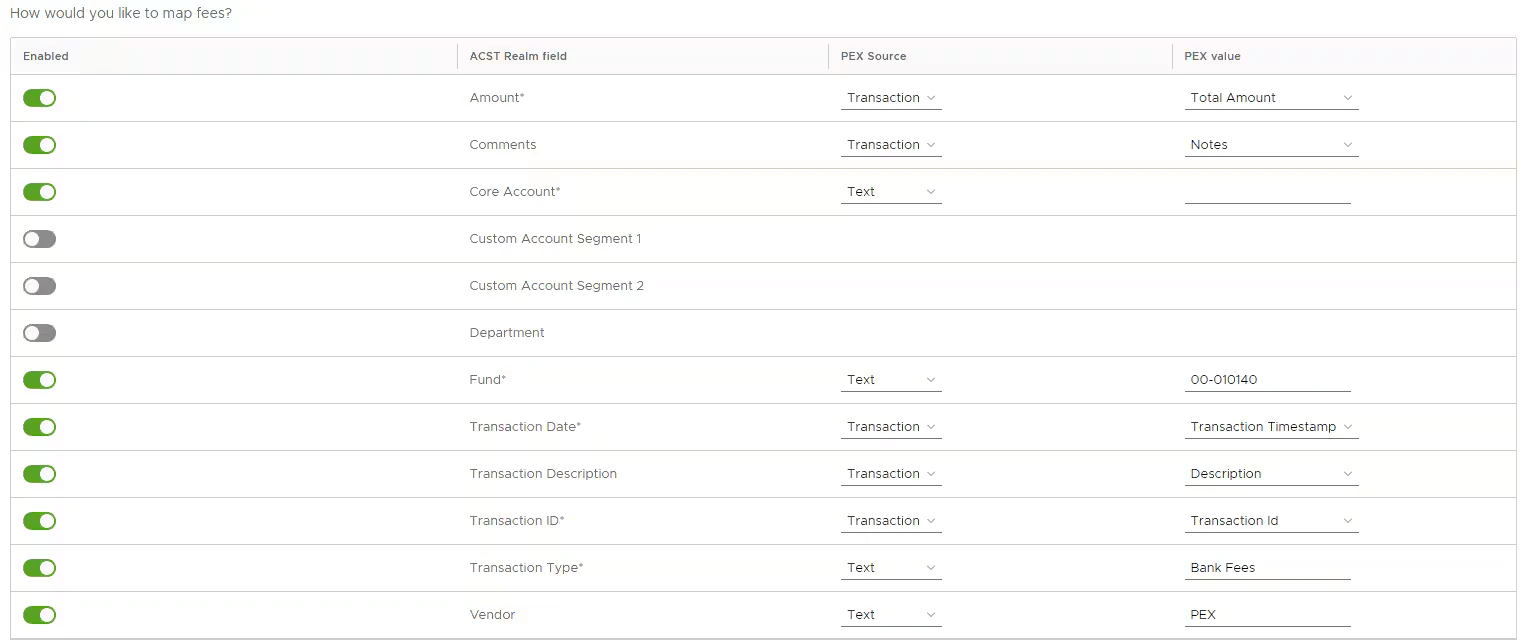
Note:Account No. is the bank account where you pay FEES for the PEX platform.

Schedule export
One time sync: To run a one time report, select a date and time to run the report and press ‘Save’.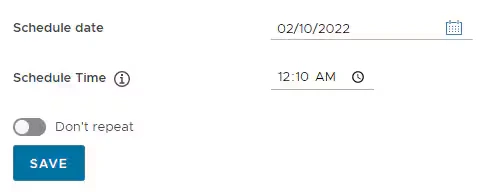

View history
The History tab shows you a list of prior exports including the date range selected, status, # transactions found, # transactions eligible, and # transactions exported. The Action tab will have a download button once the transactions can be downloaded (see below). If you selected a small date range with a low number of transactions, the download should be ready in less than a minute. If the date range contains a large number of transactions, it may take a few minutes to populate. Simply refresh the screen to get the latest update.Note:if you selected Approved transactions only on the Configure screen, only approved transactions will be visible.

FAQ
What type of files are supported?
What type of files are supported?
The PEX Exporter for ACS Technologies supports .CSV and .XLS
Are split tags supported for the export?
Are split tags supported for the export?
Can I re-export a purchase?
Can I re-export a purchase?
Every exported purchase has a “Synced to PEX Connector for ACS Technologies” note. If you remove this note, the purchase will be re-exported.