Export to QuickBooks Desktop
Log in to dashboard.pexcard.com.
Navigate to Reports.
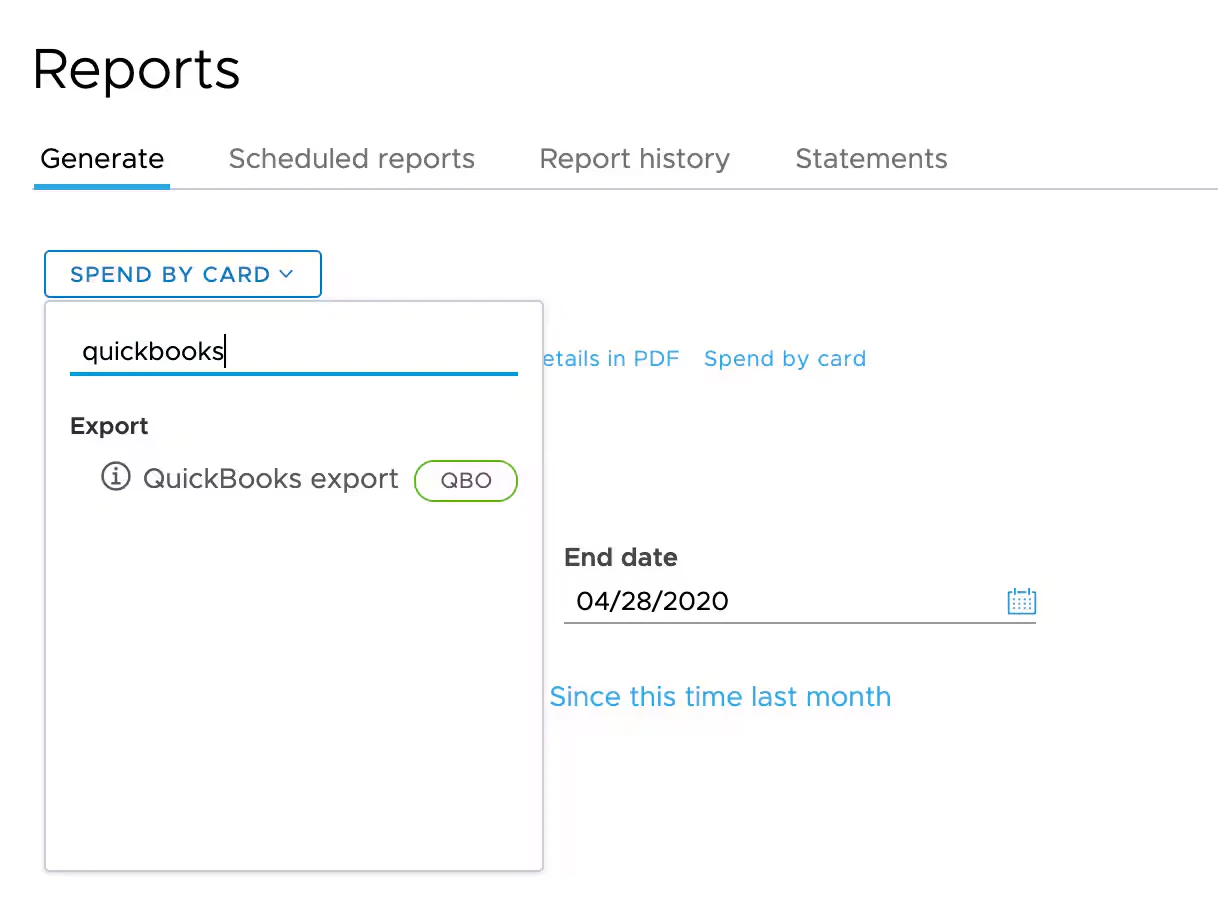
Click Export at the bottom of the page.
- This downloads a file ending in
.qboto the folder you select.
Click Transaction List.
- Imported transactions will appear so you can add the payee and account and either accept or delete the transaction. Under the ACTION column, you can select Quick Add or Add More Details to include more information. The Memo field will include the cardholder name by default.
Export to QuickBooks Online
Follow steps 1–4 under Export to QuickBooks Desktop to generate and download a
.qbo file.In QuickBooks Online, go to Transactions → Bank transactions → select Upload from file → drag and drop or select the
.qbo file you just saved.FAQ
My PEX account balance and my QuickBooks balance do not match
My PEX account balance and my QuickBooks balance do not match
- PEX statements and the .qbo file export only include settled transactions.
- Pending transactions, which appear in the card transaction history, are not final (because the transaction month and amount may change).
- Pending transactions should not be entered into QuickBooks.
- Be sure that the time period of the statement matches the .qbo file export start and end dates. The default statement period is a calendar month.
I cannot find my PEX account number
I cannot find my PEX account number
- The unique number for your PEX Account (a 13 digit number) is listed on the Transfers / ACH Instructions page of the Administrator website.
- You must log in to retrieve your account number.
Note:If you have multiple PEX Accounts, each PEX Account will have its own unique account number.
My file is missing older transactions
My file is missing older transactions
- A maximum of 3 months of transactions can be exported at one time.
- PEX makes the last 12 months of spend available on the Administrator site.
- Older months can be sourced by emailing the request, with the desired time period and file type (.qbo or .csv), to adminsupport@pexcard.com.
- PEX will email the information to you.
Limiting the file to a single cardholder account
Limiting the file to a single cardholder account
-
The export contains all transactions that affect the PEX Account balance, including:
- ACH transfers
- Wire transfers
- Fees
- Merchant purchases and returns
- All cards are included — there is no .qbo file export per single PEX Card Account.
Missing transaction tags and/or notes
Missing transaction tags and/or notes
Unable to import the file
Unable to import the file
Note:Only .qbo, .ofx, and .csv files are available.
- PEX does not support .qfx.
- Please contact Intuit for file conversion options.
Expected transactions do not appear in the exported file
Expected transactions do not appear in the exported file
- Only settled transactions appear in the export and statement files.
-
If a merchant has not completed the transaction process within 14 days, then:
- The pending transaction will no longer appear on the card account.
- There is no record of that transaction in the export.
- If you have a receipt, but there is no settlement, then please call the merchant.