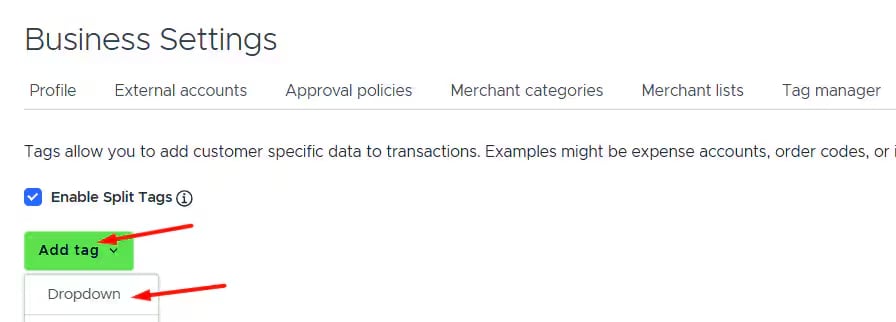
Go to Tag Manager.


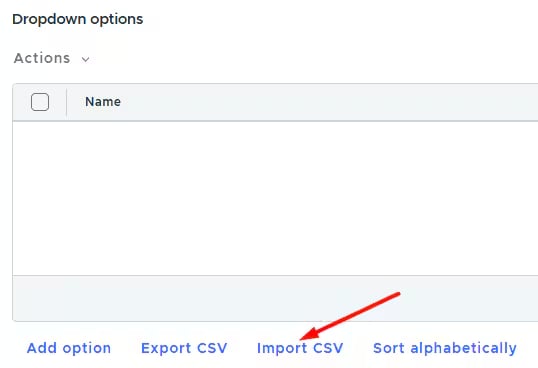
Click Import CSV to upload your tag options (chart of accounts in our example). More details on CSV import are available in our support article.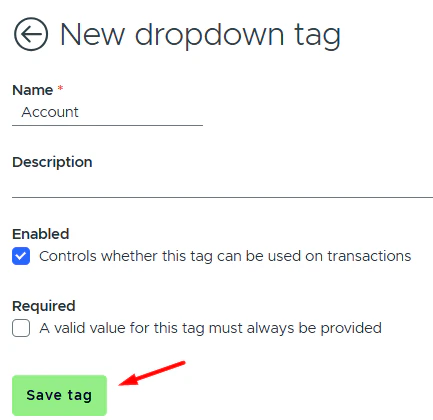

If your PEX source is set to Tag, create a corresponding tag in Tag Manager. For example, if the Account field is mapped to PEX source - Tag: