Once they’re in PEX, you can easily code/tag transactions before they sync to Sage Intacct. They will then sync to Sage Intacct with the correct expense account, class, customer, project, etc.
3
Click Add Tag.
4
Select Dropdown as the type.
5
Enter a name: Expense Account.
6
Optionally, add a description like “Intacct Account”.
7
Check Enabled to make this tag visible on transactions.
8
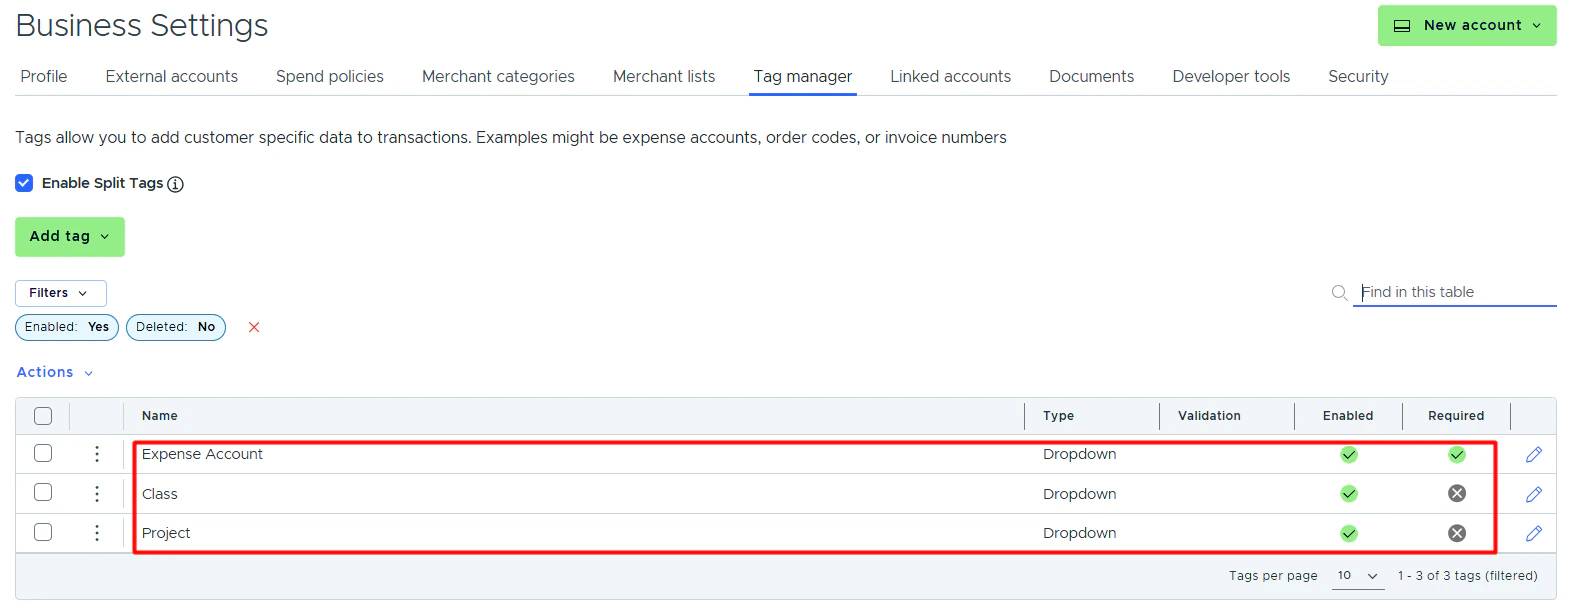
Choose whether or not this tag is required.
  • If the “Required” checkbox is checked, cardholders must tag a transaction with it.
9
Click Save tag to finish.
  • The new tag will appear on the Tag Manager page.
10
Create one tag for each Sage Intacct field mapped to a PEX tag (like Class, Project, etc.) following the same steps above.
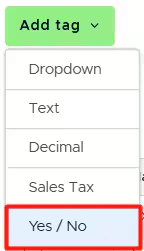
Note:If you want to map the ‘Billable’ and ‘Tax’ fields to tags, you must create a Yes / No tag type.
11
If you use user defined dimensions you can also add those as tags following the same steps above.
12
You will have PEX tags appear in Tag Manager.
Once the tags are set up, you will also see them:
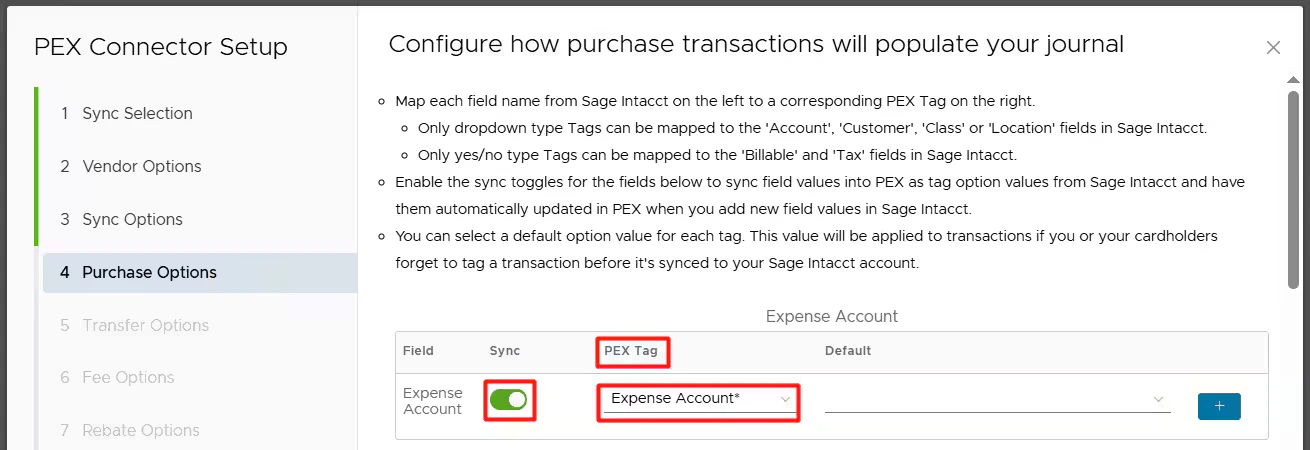
  • In the PEX Tag dropdown lists in connector setup steps.
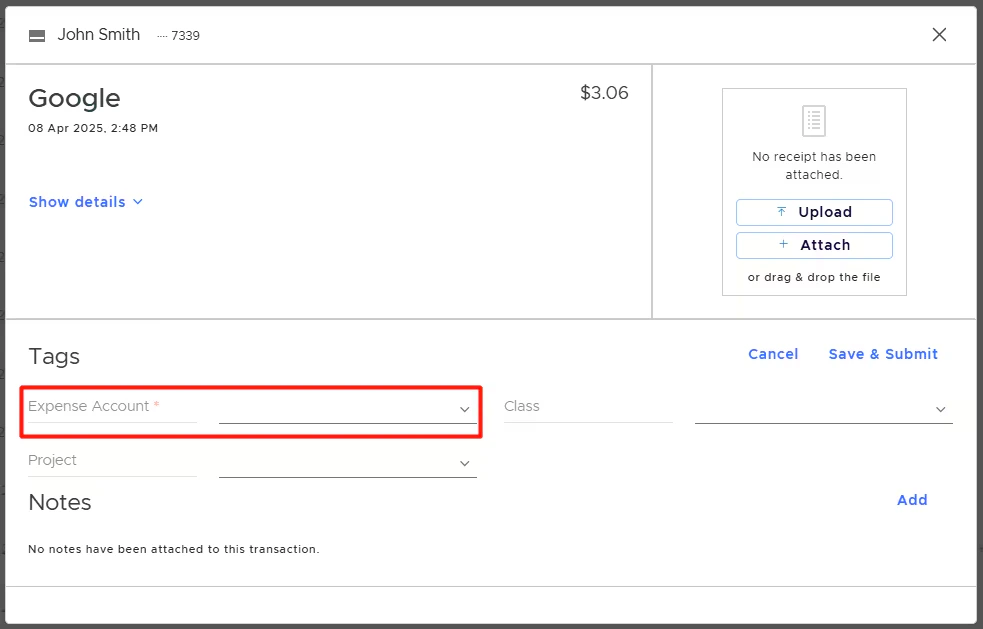
  • On the PEX transaction details screen, so you and your Cardholders can tag transactions.
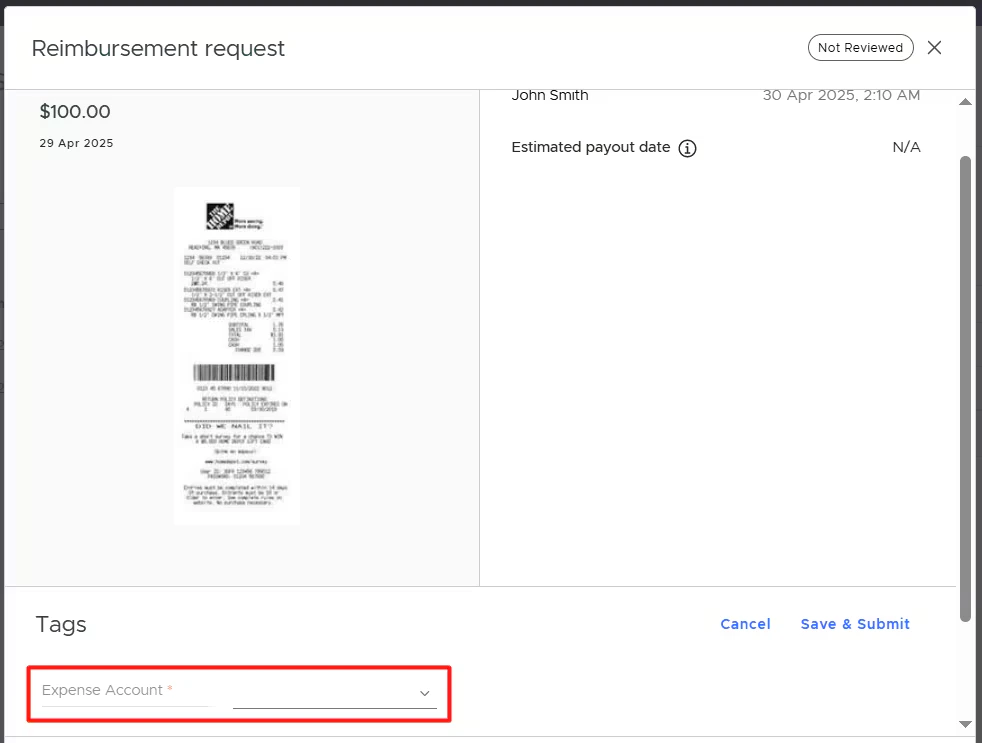
  • On the PEX reimbursement details screen, so you and your Cardholders can tag reimbursements.
Admin view
Cardholder view
Last modified on April 23, 2026