How to add attachment
Complete the following steps:- Log in to http://dashboard.pexcard.com/
- Click “Transactions” from the left navigation.
- Locate the transaction you would like to add the receipt to.
- Click on that transaction.
- Click “Upload”.
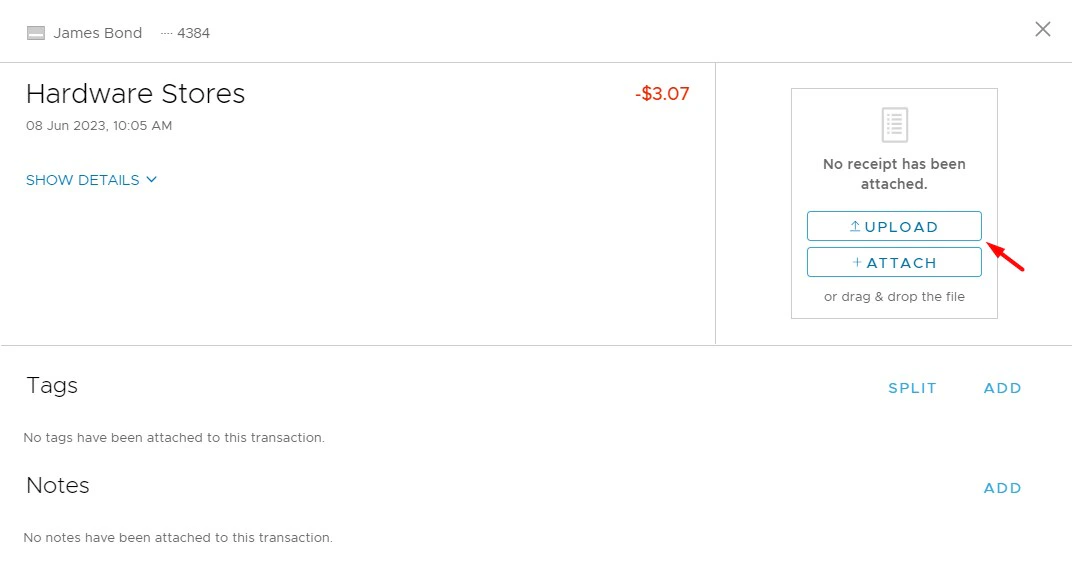
- Select a receipt that you want to add to the transaction.
- Click “Save”.
- The image is a supported format: PDF, PNG, or JPG.
- The file contains no malware or computer viruses.
- The file is not corrupted.
- The file is smaller than 10 MB. If the upload is successful, the image will appear next to the transaction.
Adding multiple attachments
To add additional attachments, complete the following:- Hover over the receipt image.
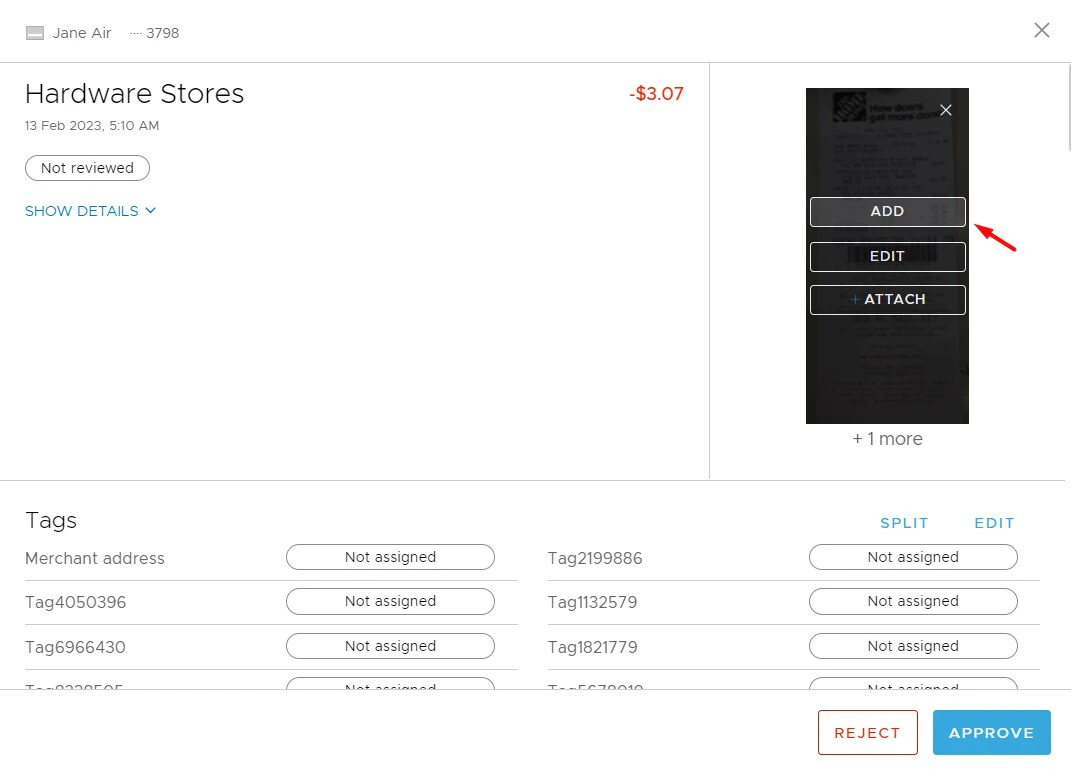
- Click “Add”.
- Select a receipt that you want to add to the transaction.
- Click “Save”.
Edit attachments
If you want to edit the attachment:- Hover over the receipt image.
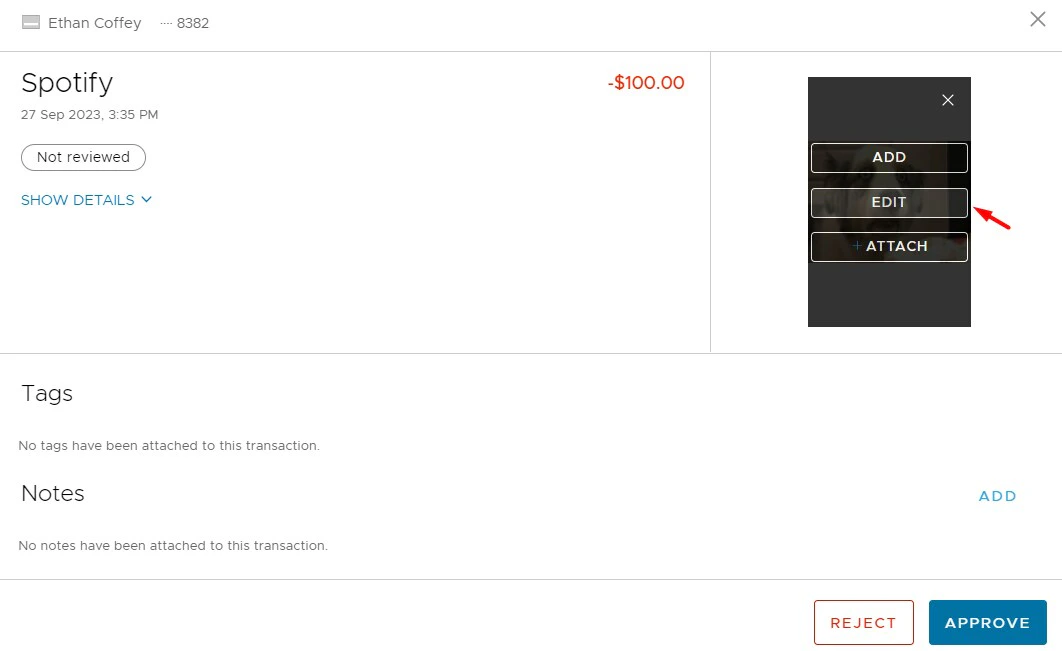
- Click “Edit”.
- You will see a modal window with editing capabilities: Add receipt, Replace receipt, Rotate clockwise, Crop, Zoom out, Zoom in, Download, Delete.
- Click “Save”.
How to attach receipt to transaction?
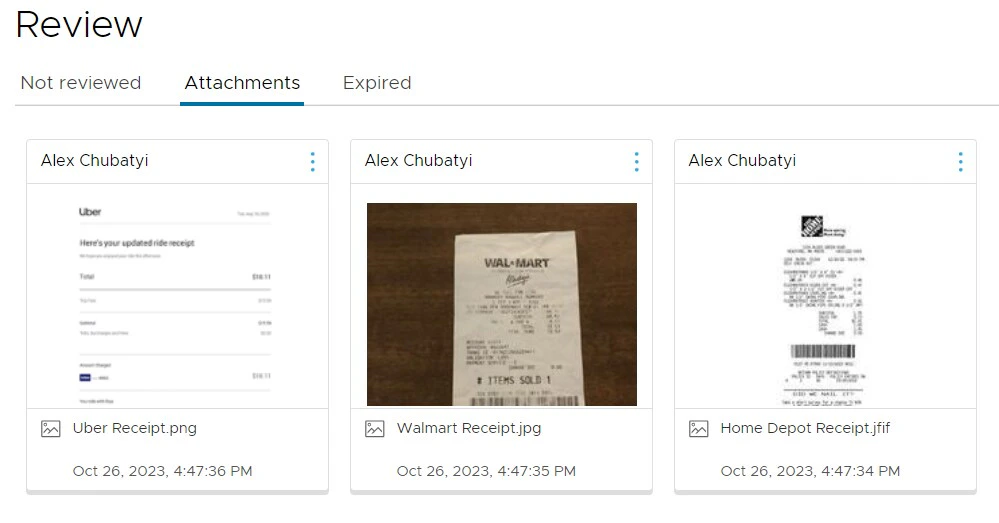
To add an attachment that has been previously uploaded to “Attachments” (“Review” menu -> “Attachments” tab -> Click “Upload” -> Click “Browse”) to a transaction then follow these steps:- Log in to http://dashboard.pexcard.com/
- Click “Transactions” from the left navigation.
- Locate the transaction you would like to attach the receipt to.
- Click on that transaction.
- Click “Attach”. Once you click “Attach”, you will see the “Attachments” section appear below the “Attach” button.
- Select one or more receipts that you want to attach to the transaction
- Click “Add”.
Note:Clicking “Cancel” will hide the list of receipts and display the Tags and Notes sections.
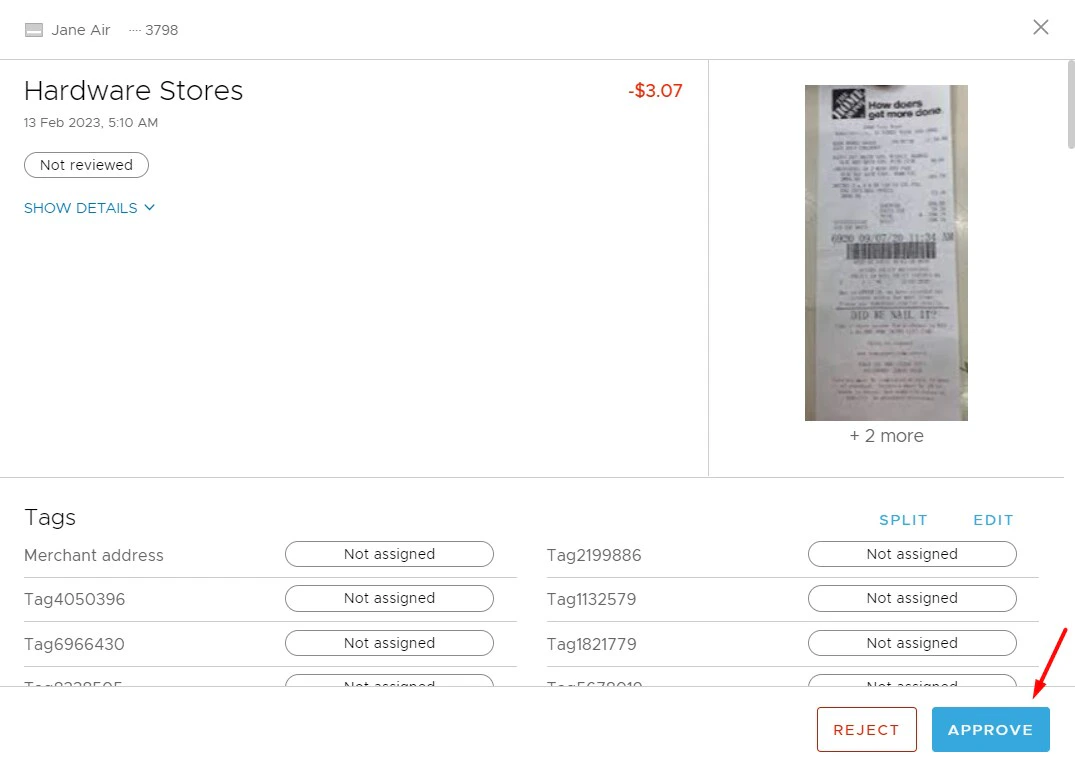
- Success message stating that the receipt has been successfully attached.
- Receipt image appear next to transaction details.
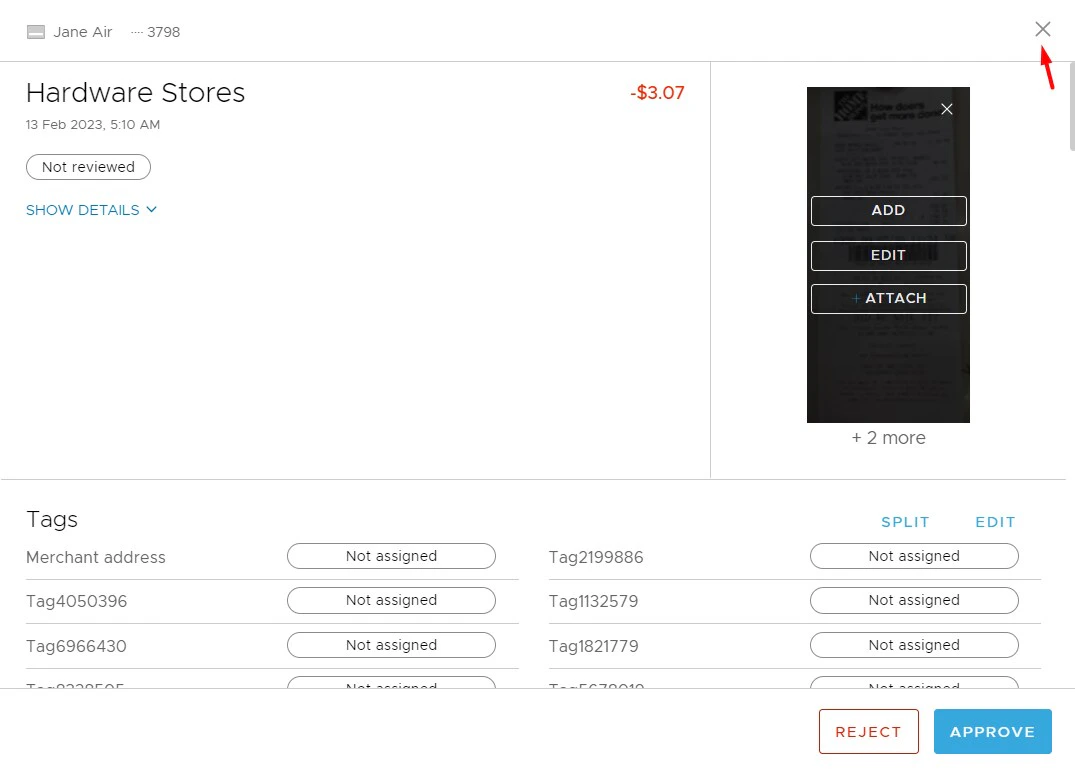
- Hover over the receipt image.
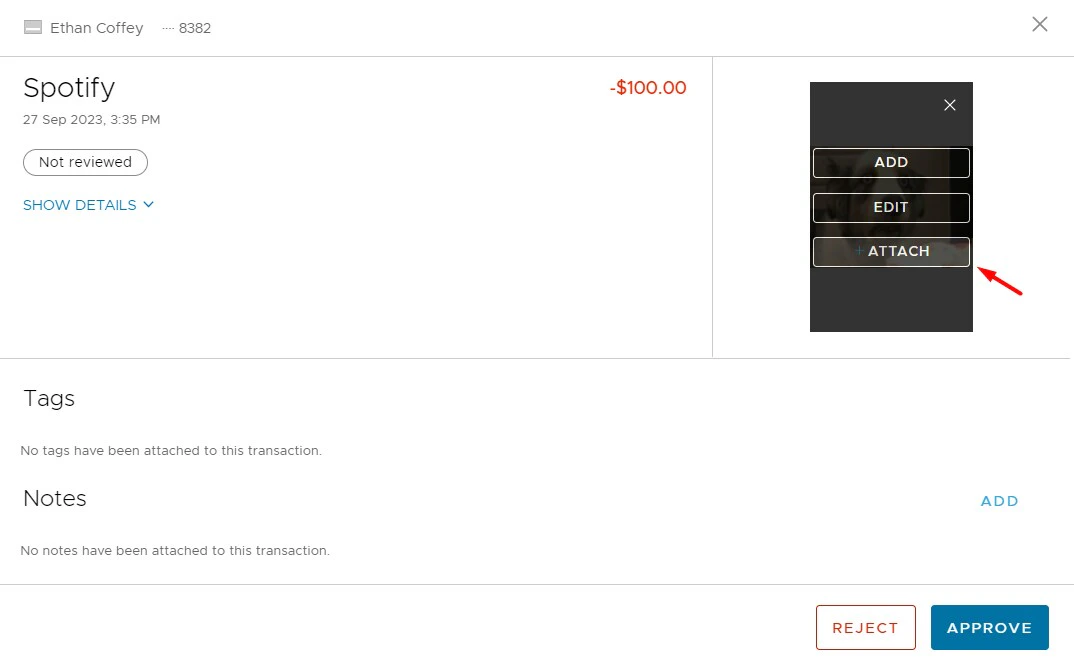
- Click “Attach”. Once you click “Attach”, you will see the “Attachments” section appear below the “Attach” button.
- Select one or more receipts that you want to attach to the transaction: check the checkbox or click on the uploader first/last name to select a receipt.
- You can scroll horizontally to find a needed receipt.
- Click “Add”.